Contact Adhesive Application Guide: Best Practices for Strong Bonds
|10 min read|ChinaGluePro Technical Team
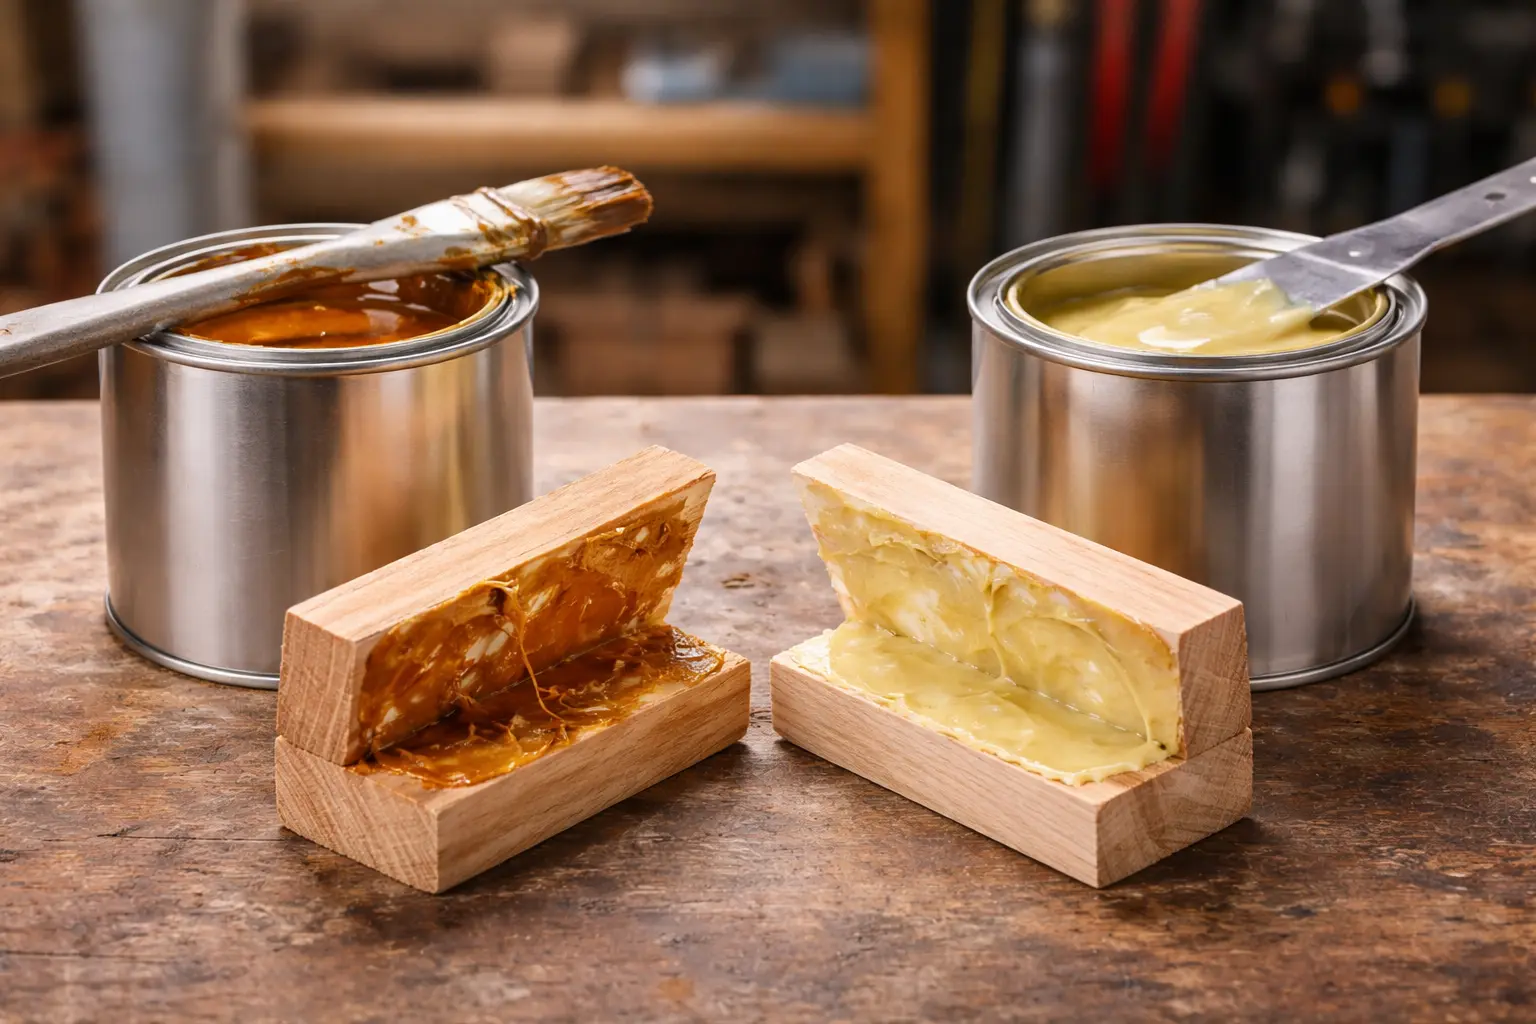
Selecting the right contact adhesive is only half the equation. The other half is applying it correctly. In industrial production environments, improper application technique is the most common cause of bond failure — not the adhesive itself. Surface contamination, incorrect coat weight, insufficient drying time, and inadequate pressing pressure each account for a significant share of rejected assemblies and rework costs.
This guide provides a step-by-step process for how to use contact adhesive in factory and workshop settings. Whether you are bonding HPL laminates in a furniture factory, assembling leather uppers in a shoe plant, or installing insulation panels on a construction site, these best practices apply across all contact adhesive types — neoprene (CR), SBS, and water-based formulations.
Step 1: Surface Preparation
Surface preparation is the single most important factor in achieving a reliable contact adhesive bond. A contaminated or poorly prepared surface will cause bond failure regardless of adhesive quality or application technique. Every surface must be clean, dry, and free of oil, dust, mold release agents, and loose particles before adhesive is applied.
Preparation by Substrate Type
—Wood and MDF: Sand with 80-120 grit sandpaper to create a mechanical key. Remove all dust with compressed air or a tack cloth. Moisture content should be below 12%. Do not apply adhesive to freshly cut MDF — allow 30 minutes for dust to settle and surface fibers to stabilize.
—HPL and laminate: Lightly abrade the bonding surface with 120-180 grit sandpaper to break the glaze. Clean with a solvent wipe (acetone or MEK) to remove surface contaminants. Allow the solvent to evaporate completely — typically 2-3 minutes.
—Metal: Remove all rust, paint, and mill scale. Degrease thoroughly with acetone or isopropanol. For aluminum, abrade with 180-grit sandpaper or Scotch-Brite pad immediately before bonding — aluminum oxide reforms within hours.
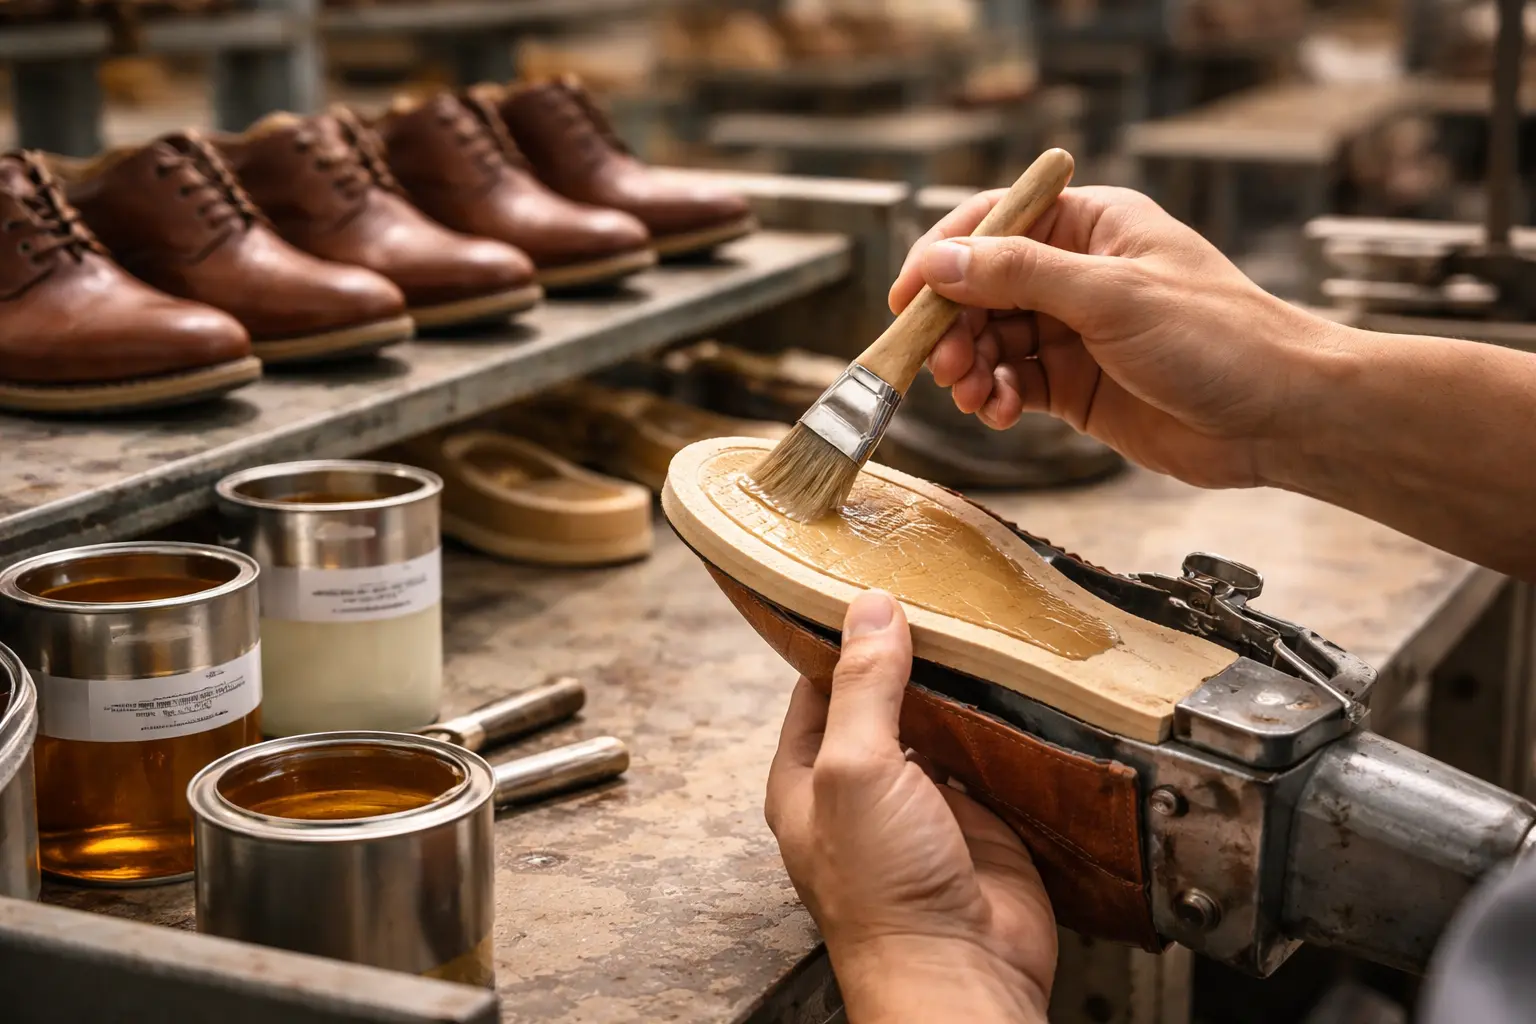
—Leather and synthetic leather: Roughen the bonding surface with 80-120 grit sandpaper to remove the finish layer. Wipe clean with a suitable solvent. For PU synthetic leather, test solvent compatibility on a scrap piece first — some solvents attack PU coatings.
—Foam and rubber: Ensure the surface is free of silicone-based mold release agents. Wipe with a compatible solvent or use primer where recommended. For closed-cell foams, light abrasion improves adhesion significantly.
Step 2: Choosing the Application Method
The application method directly affects coat weight uniformity, production speed, and adhesive consumption. Choosing the right method for your substrate size, geometry, and production volume is essential. For large flat panels, consider using spray adhesive systems for maximum efficiency.
Method
Best For
Coat Weight
Speed
Brush
Small parts, edges, irregular shapes, repairs
120-200 g/m2
Slow
Roller
Flat panels, laminate sheets, medium-area bonding
120-160 g/m2
Medium
Notched Trowel
Flooring, large flat substrates, thick coatings
150-250 g/m2
Medium
Spray Gun
Large areas, foam, upholstery, high-volume production
80-150 g/m2
Fast
In high-volume industrial operations, pressure-feed spray guns with 1.5-2.0 mm nozzles deliver the most consistent and efficient coating. For brush and roller application, use short, even strokes in one direction — avoid back-and-forth scrubbing which introduces air bubbles and creates uneven film thickness.
Step 3: Applying the Adhesive
Contact adhesive must be applied to both surfaces being bonded. This is a fundamental requirement — applying adhesive to only one surface will result in a weak, unreliable bond. The adhesive film on each surface interlocks with the other when pressed together, creating the characteristic instant-bond mechanism.
Coat Weight and Coverage
The recommended coat weight for most contact adhesive applications is 120-180 g/m2 per surface. This translates to a wet film thickness of approximately 0.10-0.15 mm. Applying too little adhesive results in poor surface wetting and weak bonds. Applying too much wastes material, extends drying time, and can trap solvent in the film — leading to delayed bond failure.
—Porous substrates (wood, MDF, fabric) absorb adhesive into the surface. Apply a thin seal coat first, allow it to dry for 5-10 minutes, then apply the main coat. This two-coat technique prevents starvation of the glue line on porous materials.
—Non-porous substrates (metal, HPL, plastic) require only a single coat at the recommended weight. Excess adhesive on non-porous surfaces dries very slowly and is more prone to solvent entrapment.
—Ensure full coverage — especially at edges and corners. Bond failures typically start at edges where coat weight is thinnest. Extend coating 5-10 mm beyond the intended bond area to guarantee full edge coverage.
Step 4: Open Time and Drying
After applying the adhesive, you must allow it to dry until the solvent (or water, for water-based types) has evaporated and the film becomes tacky but not wet. This drying period is called the "open time." Bonding too early traps solvent in the joint. Bonding too late — after the adhesive has dried past its tack window — results in a weak or non-existent bond.
The Knuckle Test
The most reliable field test for adhesive readiness is the knuckle test: press the back of your knuckle firmly against the coated surface. If the adhesive feels dry to a light touch but pulls slightly tacky against your knuckle with firm pressure, it is ready to bond. If it transfers adhesive to your skin, wait longer. If it feels completely dry with no tack, the open time window has passed.
Drying Time by Adhesive Type
Adhesive Type
Open Time (25°C, 60% RH)
Tack Window
Notes
Neoprene (solvent-based)
5-15 minutes
15-60 minutes
Wider tack window; forgiving for production lines
SBS (solvent-based)
8-20 minutes
10-45 minutes
Faster initial dry; narrower working window
Water-based
20-45 minutes
30-90 minutes
Humidity-sensitive; use forced air drying in humid climates
Factors Affecting Drying Time
—Temperature: Higher temperatures accelerate evaporation. At 35°C, drying times may be 30-40% shorter than at 25°C. Below 15°C, drying slows significantly — water-based adhesives may not form a proper film below 10°C.
—Humidity: Affects water-based adhesives the most. Above 80% RH, water-based contact adhesive drying time can double. Improve ventilation or use fans to maintain airflow over coated surfaces.
—Ventilation: Adequate airflow is critical for solvent evaporation. In enclosed spaces, drying times increase and solvent concentration builds to unsafe levels. Ensure ventilation meets local workplace safety standards.
—Coat thickness: Thicker coats take longer to dry. A coat weight of 200 g/m2 can take 50-100% longer to dry than 120 g/m2. Maintain consistent, recommended coat weights to keep drying times predictable.
Step 5: Pressing and Bonding
Once both surfaces have dried to the correct tack level, align them carefully and press together. Contact adhesive bonds are immediate and generally cannot be repositioned once the surfaces touch — accuracy during alignment is critical. For large panels, use positioning sticks or dowels between the surfaces during alignment, then remove them progressively from one end to the other to prevent air entrapment.
Pressure Requirements
Apply pressure uniformly across the entire bonded area immediately after contact. The minimum recommended pressing pressure is 0.3-0.5 MPa (3-5 kg/cm2). Higher pressure improves bond quality by ensuring intimate contact between the two adhesive films and eliminating air pockets.
—J-roller: For flat panel lamination, use a heavy J-roller (hand pressure roller) and roll from the center outward to expel trapped air. Make at least 3 passes across the entire surface.
—Pinch roller press: Industrial lamination lines use powered pinch rollers delivering consistent 0.3-0.5 MPa pressure at controlled feed speeds. This is the most reliable method for high-volume flat panel bonding.
—Pneumatic press: For contoured or three-dimensional parts, use a pneumatic press or vacuum bag system to apply uniform pressure across complex geometries.
—Hand pressure: For small repairs and non-critical bonds, firm hand pressure with a rubber mallet or the heel of your hand is adequate. Strike the surface repeatedly rather than applying sustained pressure.
Step 6: Curing
While contact adhesive develops handling strength immediately after pressing, full bond strength is not achieved until the adhesive has fully cured. For solvent-based neoprene and SBS adhesives, full cure takes 24-72 hours at room temperature. Water-based contact adhesives may require up to 7 days for maximum bond strength in thick assemblies.
—Do not subject bonded assemblies to stress, load, or high temperatures during the curing period. Handling for further processing (such as edge trimming) is acceptable after 2-4 hours, but avoid impact forces.
—Stack bonded panels flat and evenly supported during curing. Uneven support can cause warping or stress on the bond line.
—Temperature during curing should be maintained above 15°C. Below this temperature, solvent evaporation from the glue line slows dramatically, weakening the final bond.
Troubleshooting Common Problems
Even with correct technique, problems can occur. The following list covers the most common contact adhesive bond failures and their root causes.
—Weak initial bond: Adhesive was not dry enough at the time of pressing (solvent still present), or insufficient pressure was applied. Check drying time and increase roller passes. Minimum pressure: 0.3 MPa.
—Bond failure after several days: Trapped solvent that continues evaporating weakens the bond from within. This indicates either too-thick application, bonding before adequate drying, or insufficient ventilation in the curing area. Surface contamination (oil, silicone, dust) can also cause delayed failures.
—Adhesive stringing during application: The adhesive has begun to skin over or the open time has been exceeded. In brush application, stringing indicates the solvent is evaporating too fast. Work in smaller sections or slow evaporation by reducing airflow over the work area.
—Blistering on laminates: Air trapped between the adhesive film and the substrate, usually caused by uneven coating, rolling too fast, or failing to press from center outward. Apply adhesive in one direction and use a J-roller with overlapping passes from the center to edges.
—Adhesive not drying: Environment is too humid (above 85% RH), too cold (below 10°C for water-based), or the coating is too thick. Improve ventilation, raise ambient temperature, or reduce coat weight. For water-based adhesives in tropical climates, forced warm-air drying is often necessary.
—Edge lifting or peeling: Insufficient adhesive at panel edges — the most common defect in lamination. Extend adhesive coverage 5-10 mm beyond the trim line and apply extra roller pressure along all edges.
Frequently Asked Questions
How long should contact adhesive dry before pressing?
Open time (drying time before pressing) depends on the adhesive type and ambient conditions. Solvent-based neoprene adhesive: 5-15 minutes at 25°C. SBS adhesive: 8-20 minutes. Water-based adhesive: 20-45 minutes. The adhesive is ready when it feels dry to touch but tacky when pressed with a knuckle. In humid or cold conditions, extend drying time.
Should contact adhesive be applied to one surface or both?
Contact adhesive must be applied to BOTH surfaces for a proper bond. This is what makes it a "contact" adhesive — the bond forms when two coated, dried surfaces are pressed together. Applying to only one surface will result in a weak bond or complete failure.
What is the best application method for contact adhesive?
For flat surfaces: roller or spatula application gives the most even coat. For large areas: spray gun application is fastest and most consistent. For small or irregular parts: brush application works well. Industrial operations typically use pressure-feed spray systems for high-volume production. Coat weight should be 120-180 g/m² per surface for optimal performance.
Why does my contact adhesive bond fail after a few days?
Delayed bond failure usually indicates: (1) insufficient drying time — trapped solvent weakens the bond over time, (2) contaminated surfaces — oil, dust, or moisture preventing adhesion, (3) incompatible substrates — some plastics require primer, (4) excessive heat exposure above the adhesive rating, or (5) insufficient pressing pressure during bonding. Check each factor systematically.
Can contact adhesive be reactivated after drying?
Solvent-based contact adhesives can sometimes be reactivated by applying heat (60-80°C with a heat gun) or by brushing a thin coat of the same adhesive solvent over the dried film. Water-based adhesives cannot be reactivated once dried. If the adhesive has fully cured (24+ hours), it generally cannot be reactivated and the surface must be cleaned and recoated.
A detailed comparison of neoprene (CR) and SBS contact adhesives — covering bond strength, heat resistance, cost, and ideal applications for industrial buyers.
Understand the key differences between solvent-based and water-based adhesives — performance, VOC levels, drying time, and regulatory compliance for industrial use.
A practical guide for footwear factory engineers and procurement managers — covering PU, neoprene, and water-based adhesives for every shoe bonding stage.