PU foam and silicone sealant are two of the most commonly used products on construction sites worldwide. Both come in cartridges or cans, both are applied into gaps and joints, and both cure in place to form a permanent seal. This overlap causes frequent confusion among contractors, distributors, and procurement teams — particularly those new to construction chemical sourcing.
The reality is that PU foam and silicone sealant are fundamentally different products designed for different jobs. Using PU foam where silicone sealant is needed — or vice versa — leads to water leaks, insulation failures, and costly rework. This guide explains what each product does, compares their properties side by side, and provides clear guidance on when to use each one — including how to use them together for optimal results.
What Is PU Foam?
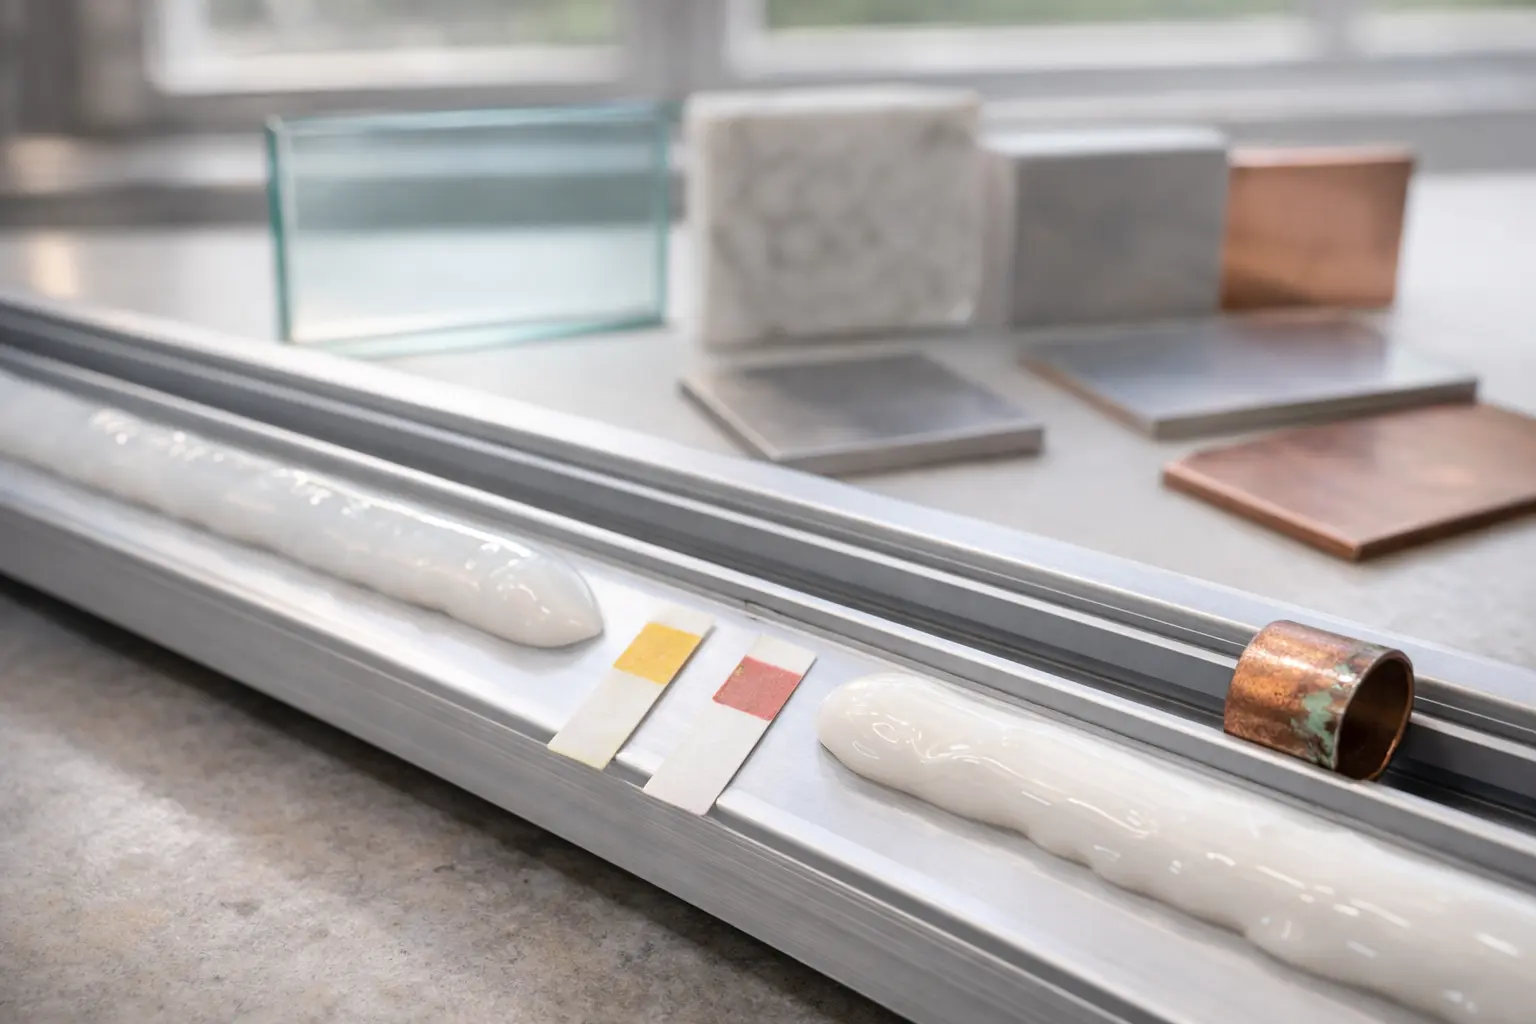
Polyurethane (PU) foam is a one-component expanding sealant that cures on contact with atmospheric moisture. It is dispensed from a pressurized aerosol can — either as a straw-type (for occasional use) or gun-type (for professional application). Once dispensed, the liquid pre-polymer reacts with humidity in the air, expanding 2-3 times its original volume and curing into a rigid or semi-rigid closed-cell foam within 4-8 hours.
Key Properties of PU Foam
—Expansion: Expands 2-3x its dispensed volume (gun-type) or up to 4x (straw-type), filling large irregular cavities that sealants cannot reach.
—Thermal insulation: Cured foam provides thermal conductivity of 0.035-0.040 W/mK — comparable to dedicated insulation materials. This makes it an effective insulator around window and door frames.
—Sound damping: The closed-cell structure absorbs and dampens sound transmission through gaps, contributing to acoustic insulation in building envelopes.
—Structural filling: Cured PU foam is semi-rigid and provides mechanical support within cavities. It anchors door and window frames in rough openings.
—UV sensitivity: Unprotected PU foam degrades under direct sunlight — turning yellow and crumbling within months. It must always be covered, painted, or sealed when exposed to weather.
PU foam is the standard product for filling gaps of 10-80mm in construction — the space around window frames, door frames, pipe penetrations, and cable conduits. It is not a surface sealant and should never be left exposed to the elements without protection.
What Is Silicone Sealant?
Silicone sealant is an elastomeric joint sealant based on silicone polymers. It is dispensed from a 300ml cartridge using a caulking gun, applied as a bead into joints and gaps of 3-25mm width. Silicone sealant cures by reacting with atmospheric moisture — either releasing acetic acid (acetoxy cure) or alcohol (neutral cure) — forming a permanently flexible rubber seal.
Key Properties of Silicone Sealant
—Waterproofing: Cured silicone is fully waterproof with zero water absorption. This is its primary function — sealing joints against water, air, and dust infiltration.
—Flexibility: Silicone sealant maintains ±25% joint movement capability after curing. It stretches and compresses with building movement without cracking or losing adhesion.
—UV resistance: Unlike PU foam, cured silicone is fully UV stable. It does not yellow, crack, or degrade under prolonged sunlight exposure — making it suitable for exterior facade joints.
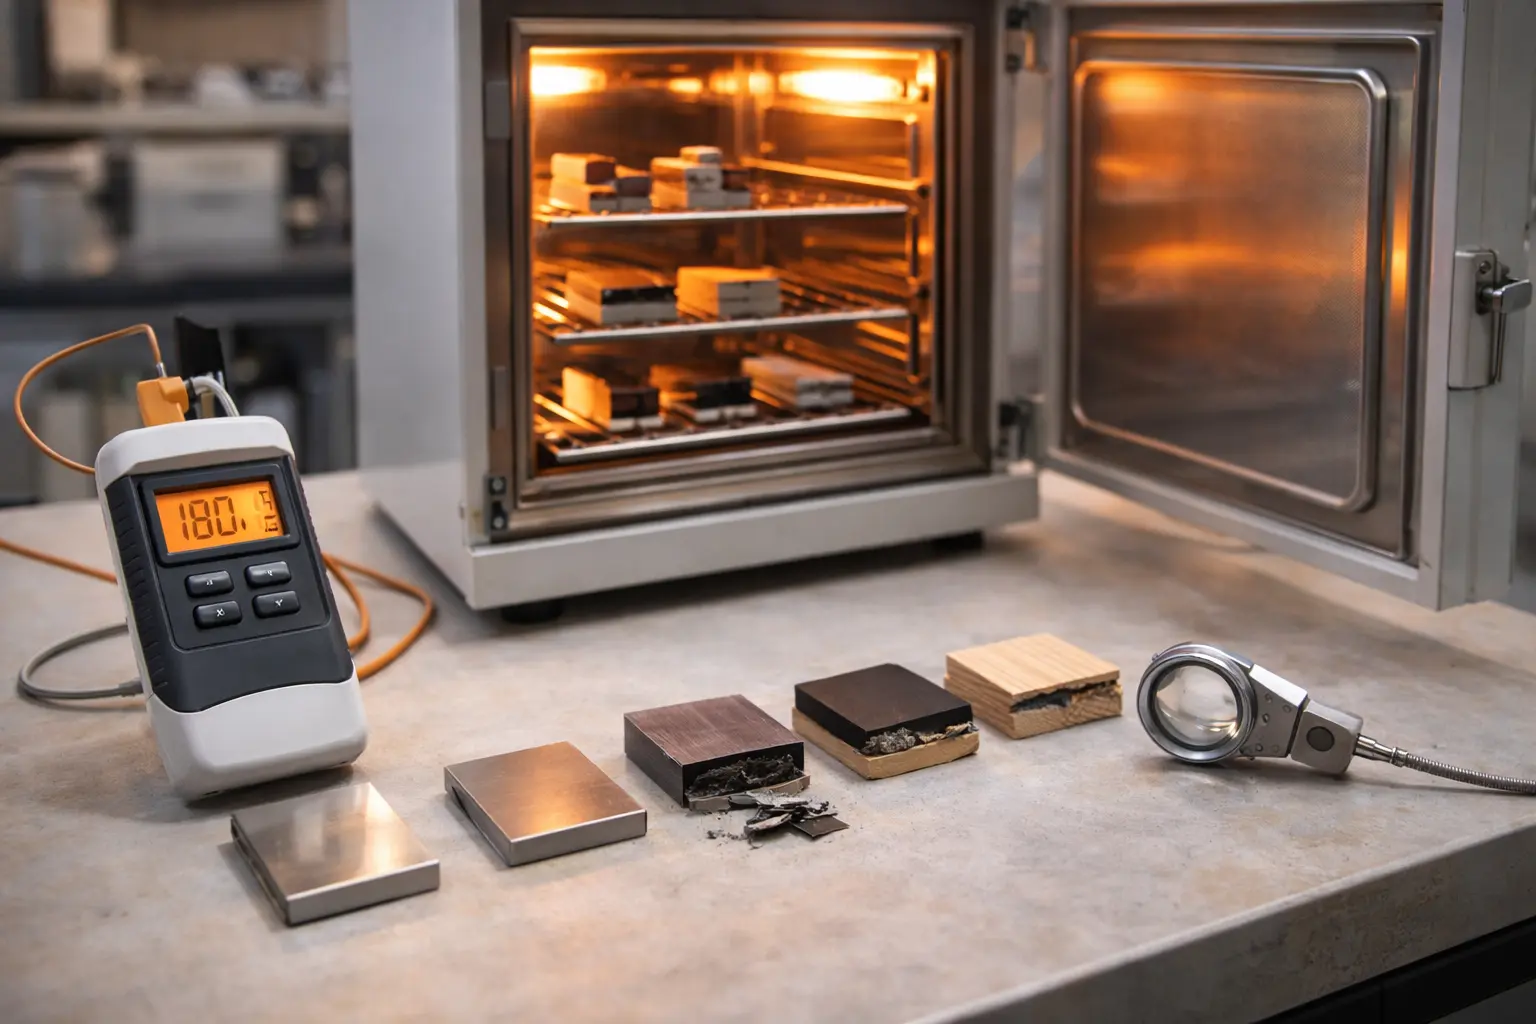
—Temperature range:Neutral cure silicone sealant typically operates from -40°C to +150°C continuously, far exceeding the requirements of most building applications.
—No expansion: Silicone sealant does not expand. It cures at the volume applied, which means it cannot fill large cavities or voids. Joint width is limited to approximately 3-25mm.
Silicone sealant is the standard product for weather-sealing joints on building exteriors — around window perimeters, between curtain wall panels, at facade expansion joints, and in wet areas such as bathrooms and kitchens. It provides a clean, durable, weather-tight finish that PU foam cannot match.
PU Foam vs Silicone Sealant: Head-to-Head Comparison
The following table compares PU foam and silicone sealant across the key performance parameters that matter for construction procurement decisions.
Property
PU Foam
Silicone Sealant
Gap Size Range
10 - 80 mm
3 - 25 mm
Expansion
2-3x volume (gun-type)
None (cures at applied volume)
Waterproofing
Water-resistant, not waterproof
Fully waterproof
Thermal Insulation
0.035-0.040 W/mK (excellent)
Negligible insulating value
UV Resistance
Poor (degrades in sunlight)
Excellent (fully UV stable)
Flexibility
Semi-rigid after curing
Permanently flexible (±25%)
Paintability
Yes (after trimming and curing)
No (paint does not adhere to silicone)
Adhesion
Bonds to most porous substrates
Bonds to glass, metal, ceramics, most building materials
Temperature Range
-40°C to +80°C
-40°C to +150°C
Cost per Volume Filled
Very low (due to expansion)
Higher (no expansion, material = fill)
The comparison makes the distinction clear: PU foam is a gap filler and insulator; silicone sealant is a weatherproofing and waterproofing sealant. They solve different problems and are not interchangeable in most applications.
When to Use PU Foam
PU foam is the correct choice when you need to fill a large gap, provide thermal or acoustic insulation, or mechanically anchor a frame in a rough opening. Typical applications include:
—Door and window frame installation: Filling the 15-40mm gap between the frame and the rough masonry opening. The foam insulates, seals against air leakage, and anchors the frame in position while mechanical fasteners provide primary support.
—Pipe and cable penetrations: Sealing gaps where pipes, conduits, and cables pass through walls and floors. The expanding foam fills irregular spaces that would be impossible to seal with a bead of sealant.
—Large gap filling: Gaps wider than 25mm where silicone sealant cannot bridge the joint. PU foam fills gaps up to 80mm in a single application and can be applied in layers for even wider gaps.
—Insulation bonding and gap sealing: Securing insulation boards and sealing gaps between insulation panels in wall and roof assemblies. The foam bonds and insulates simultaneously.
When to Use Silicone Sealant
Silicone sealant is the correct choice when you need a waterproof, UV-stable, flexible seal on a visible or weather-exposed joint. Applications include:
—Window glazing and perimeter sealing: Sealing the joint between glass and frame, and the perimeter joint between window frame and exterior wall finish. These joints must be waterproof, flexible, and UV resistant for the life of the building.
—Bathroom and kitchen wet areas: Sealing joints around bathtubs, shower trays, sinks, and countertops where continuous water exposure demands a fully waterproof seal. Neutral cure silicone with mold-resistant additives is standard for these applications.
—Facade expansion joints: Sealing movement joints in curtain walls, precast concrete panels, and stone cladding. These joints move with thermal expansion and contraction, requiring the ±25% movement capability that only elastomeric sealants provide.
—Metal-to-glass and metal-to-metal joints: Silicone provides excellent adhesion to non-porous substrates including glass, anodized aluminum, stainless steel, and ceramic tiles — substrates where PU foam adhesion is often poor.
Using Both Together: The Foam-and-Seal Technique
In professional construction practice, PU foam and silicone sealant are frequently used together on the same joint. This combined approach delivers the best performance — insulation from the foam and weather protection from the sealant. The standard procedure is:
Step-by-Step: Foam Fill + Sealant Finish
Apply PU foam to fill the gap between the frame and the rough opening. Fill to approximately 70-80% depth — do not overfill, as expansion will complete the fill.
Allow full cure — typically 4-8 hours depending on gap depth and ambient humidity. The foam surface should be firm and non-tacky.
Trim excess foam flush with the wall or frame surface using a sharp knife or saw. Remove any irregular protrusions to create a flat substrate.
Apply silicone sealant as a bead over the trimmed foam surface, bridging the joint between frame and wall finish. Tool the sealant with a spatula for a clean profile.
Result: The foam provides insulation and structural filling. The silicone provides a waterproof, UV-stable, flexible outer seal. Each product does what it does best.
This dual-product approach is standard practice in European window installation (per RAL installation guidelines) and is increasingly adopted in the Middle East, Southeast Asia, and other markets where building envelope performance requirements are tightening.
Common Mistakes to Avoid
Misusing PU foam and silicone sealant is one of the most common sources of building defects. Watch for these errors:
—Using PU foam as an exterior seal: Foam left exposed to sunlight and rain will degrade within 6-12 months. UV breaks down the polyurethane polymer, and the foam crumbles away — leaving the gap completely unprotected. Always cover or seal over exposed foam.
—Using silicone sealant to fill large gaps: Attempting to fill a 40mm gap with silicone wastes product and produces a poor seal. Silicone sealant is designed for joint widths of 3-25mm. For larger gaps, use PU foam first, then seal over it.
—Expecting PU foam to waterproof: While cured PU foam resists casual water contact, it is not a waterproof barrier. Relying on PU foam alone for waterproofing around windows will result in water infiltration and eventual building damage.
—Painting over silicone sealant: Standard silicone sealant rejects paint — the paint will peel off within days. If a joint needs to be painted, use a paintable hybrid sealant (MS polymer) or PU sealant instead of silicone.
—Overfilling with PU foam: Applying too much foam in a confined space creates excessive expansion pressure that can bow or distort window and door frames. Apply foam conservatively — 70-80% fill — and let expansion do the rest.
Frequently Asked Questions
Can PU foam replace silicone sealant?
No, they serve different purposes. PU foam is an expanding filler for large gaps (10-80mm) and provides insulation. Silicone sealant is a flexible seal for small joints (3-25mm) and provides waterproofing. PU foam is not waterproof and degrades under UV; silicone sealant does not expand or insulate. Use them together — foam for filling, sealant for sealing.
Is PU foam waterproof?
Cured PU foam is water-resistant but not fully waterproof. It has a closed-cell structure that resists water penetration short-term, but prolonged water exposure can degrade the foam. PU foam exposed to weather must be covered, painted, or sealed. For waterproofing applications, use silicone sealant or apply sealant over trimmed PU foam.
Which is cheaper — PU foam or silicone sealant?
PU foam is more cost-effective for filling large gaps due to its expansion ratio (1:2 to 1:3). A single 750ml PU foam can fills 20-30 liters after expansion. Silicone sealant does not expand — a 300ml cartridge fills approximately 3-4 linear meters of a 10mm x 10mm joint. For large void filling, PU foam costs 5-10x less per volume filled.
Can I apply silicone sealant over PU foam?
Yes, this is a common construction practice. Apply PU foam to fill the large gap, allow it to cure (4-8 hours), trim flush with the surface using a knife, then apply silicone sealant over the trimmed foam surface for a weather-tight seal. Ensure the foam is fully cured before applying sealant.
Guide to heat resistant adhesives for industrial use — temperature ratings, adhesive types, application methods, and selection criteria for high-heat environments.
A practical guide to REACH compliance for adhesive importers — what the regulation covers, how to verify supplier compliance, and which documents to request.